A guide to creating a new Group, ready for Groupshots or for looking at the Group's data.
There are a couple of different ways to create a Group: one from the Participants page and the other from the Groups page. Both achieve the same thing so feel free to use either method!
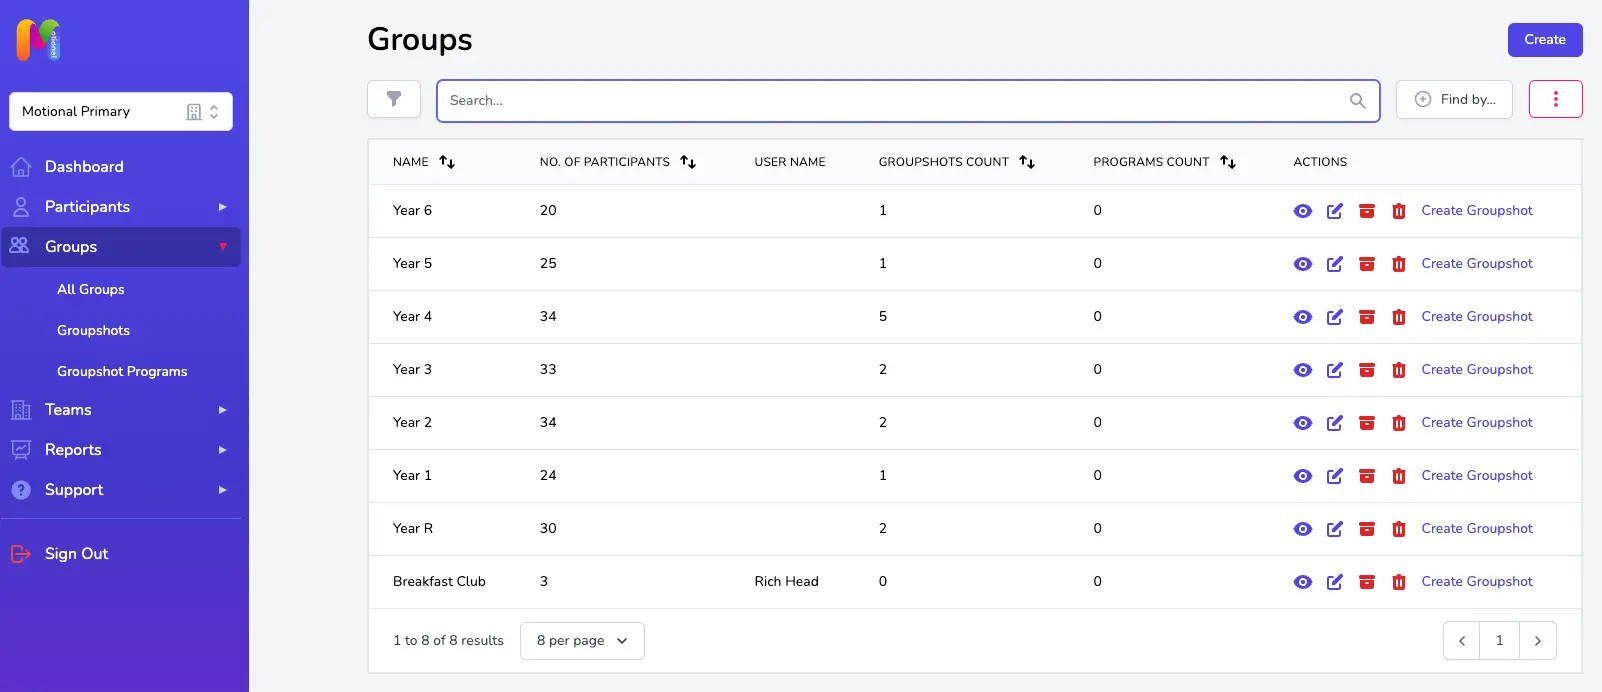
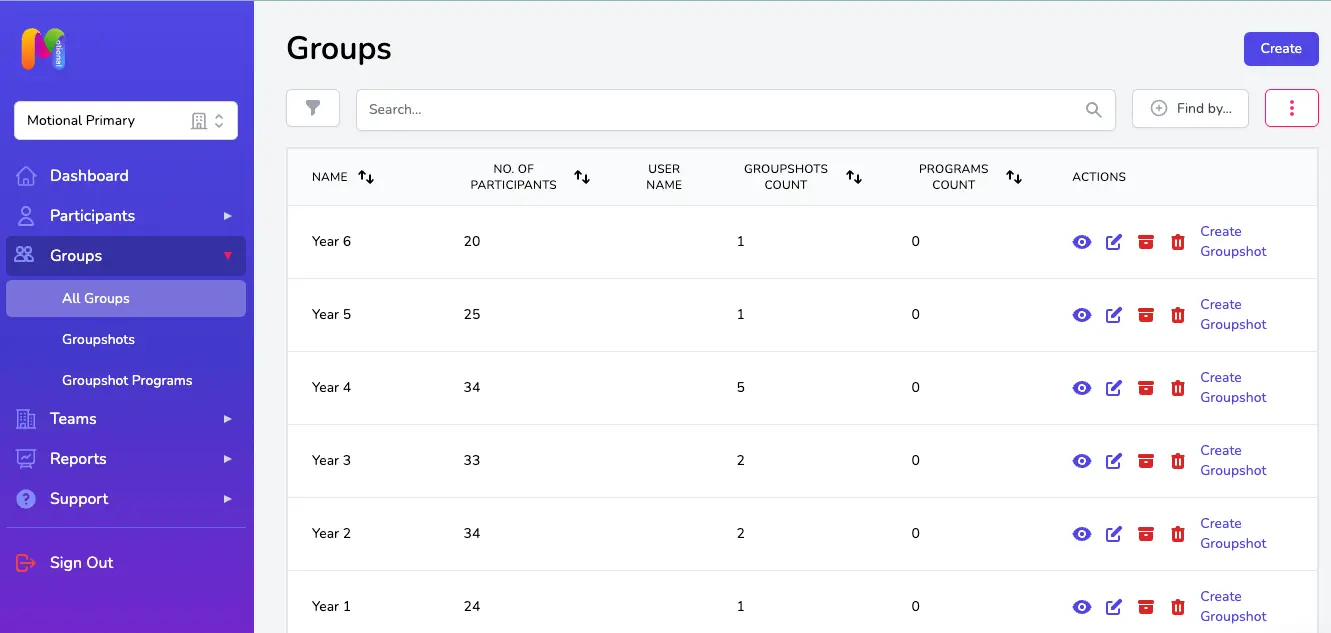
Before you create a new Group, make sure it doesn’t already exist by looking on the Groups page. There is a simple and super speedy search option at the top of the table to help you if you have lots of Groups listed.
Creating a Group from the Participants page
From the sidebar on the left, click Participants and then All Participants. In the Participants table you will be able to select the Participants you want to include in your Group by ticking the box to the left of their name.
You may find it helpful to use the sort, search or filter options to locate your Participants (for help with that take a look at the
Filtering and Sorting the Participants Table
article).
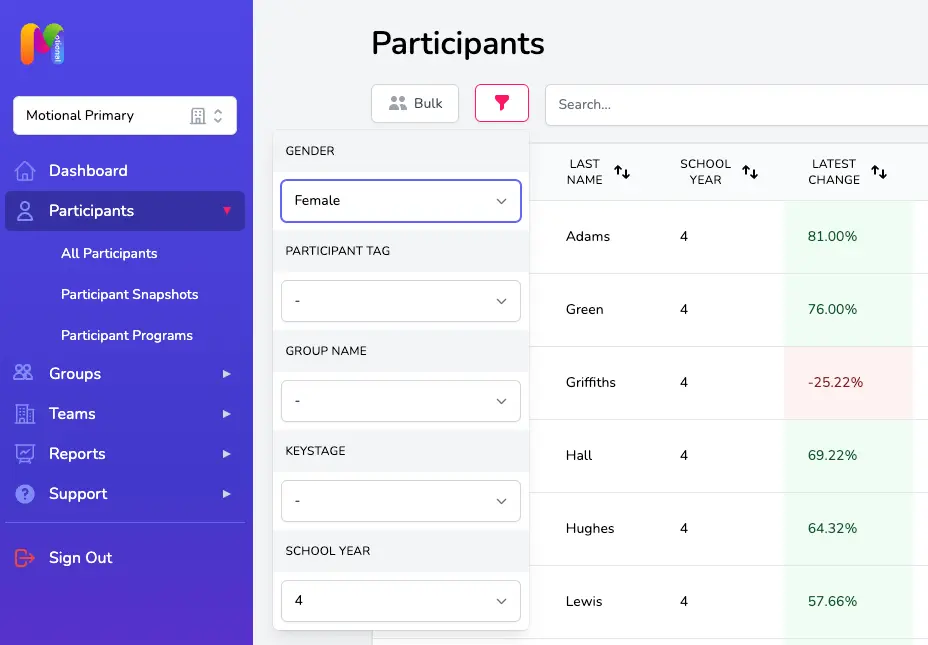
Once you’ve selected all of your Participants by ticking the box next to the left of each of their names, click on the Bulk button at the top left of the table and select Add to Group.

It will show you within this drop-down how many Participants you’ve selected, but don’t worry if you miss one or two: you’ll have an opportunity to review the Participants and make any changes at the next step.
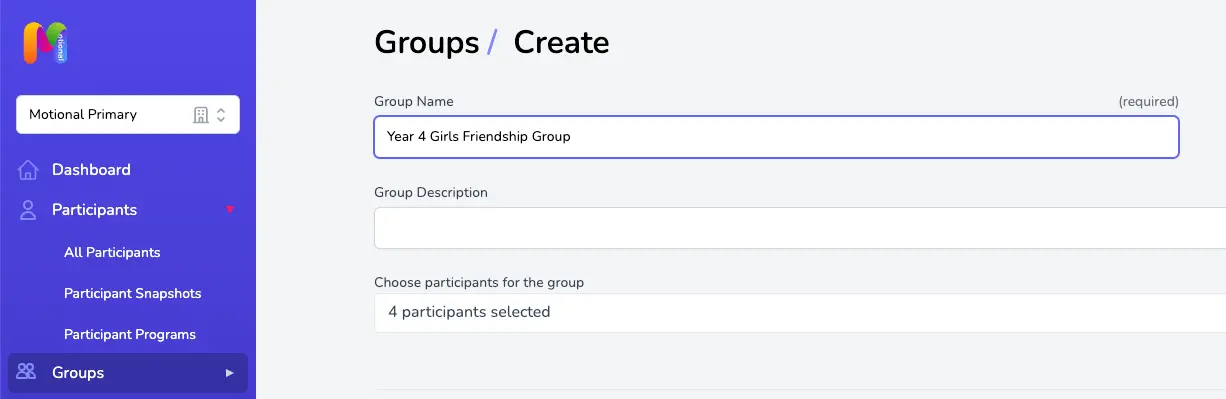
Add the Group Name
Give your Group a name – we suggest you make this something easily recognisable by you and others in your Team to avoid Groups being created more than once by mistake.
Add a Group Description (optional)
If you want to you can add a Group Description, but you don’t need to if the Group Name is self-explanatory. This might be something like “Mrs Smith’s class - intervention group for working on CARE”.
Check your Participants
The total number of Participants you selected in step 2, including who they are, will be listed in the drop-down at the bottom. Double check you have everyone you need to include in this Group by looking at the list of Participants, and checking that the Total Participants number is as you’d expect. Add or remove Participants if needed.
Click Save to finish creating your new Group. This will take you to the Group Overview page and from here you can use the Edit Group or Create Groupshot buttons at the top of the page.
Creating a Group from the Groups page
From the sidebar on the left, click Groups and then All Groups. Check the Group you want to create doesn't already exist by searching your list of eisting Groups. If not, click on the blue Create button at the top right of the page.
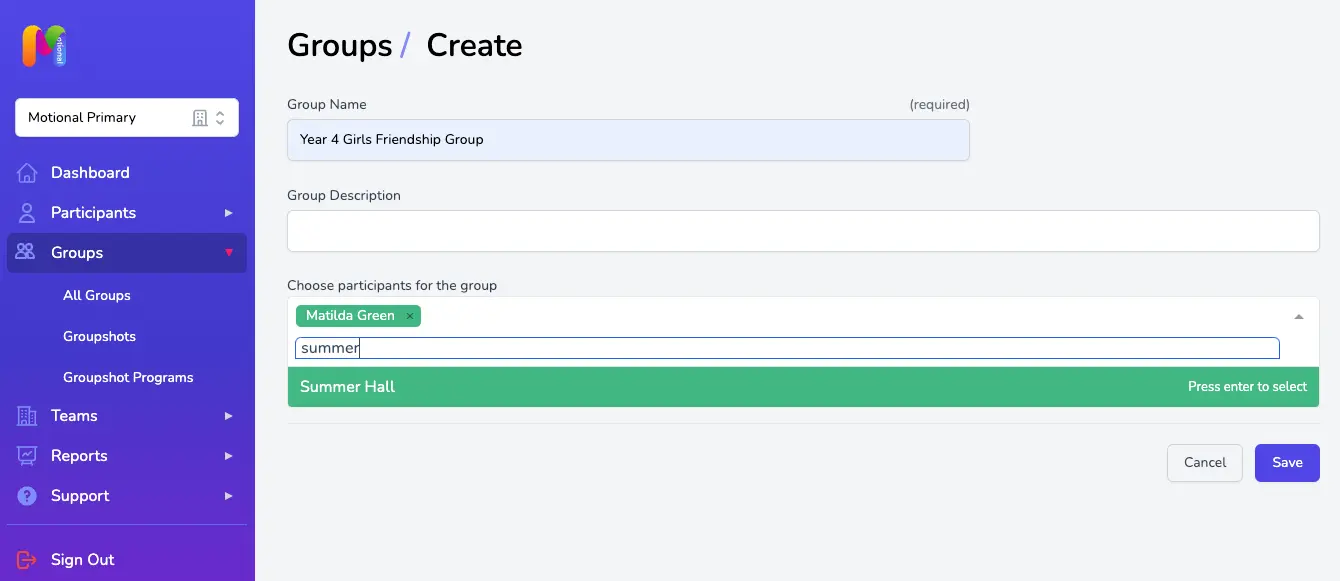
Add the Group Name
Give your Group a name – we suggest you make this something easily recognisable by you and others in your Team to avoid Groups being created more than once by mistake.
Add a Group Description (optional)
If you want to you can add a Group Description, but you don’t need to if the Group Name is self-explanatory. This might be something like “Mrs Smith’s class - intervention group for working on CARE”.
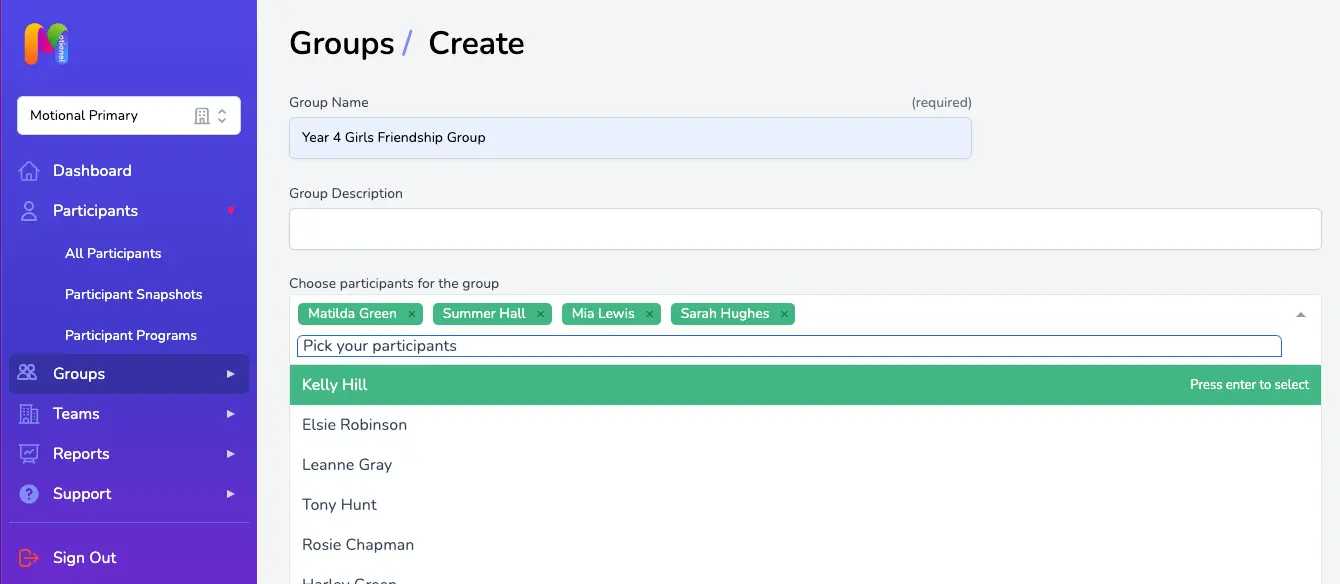
Select your Participants
Choose the Participants to add to your Group. You can either scroll through your list of Participants and select as you find them, or search for them by name.
Once you’ve finished selecting your Participants and click out of this section, the total number of Participants you selected will be shown.
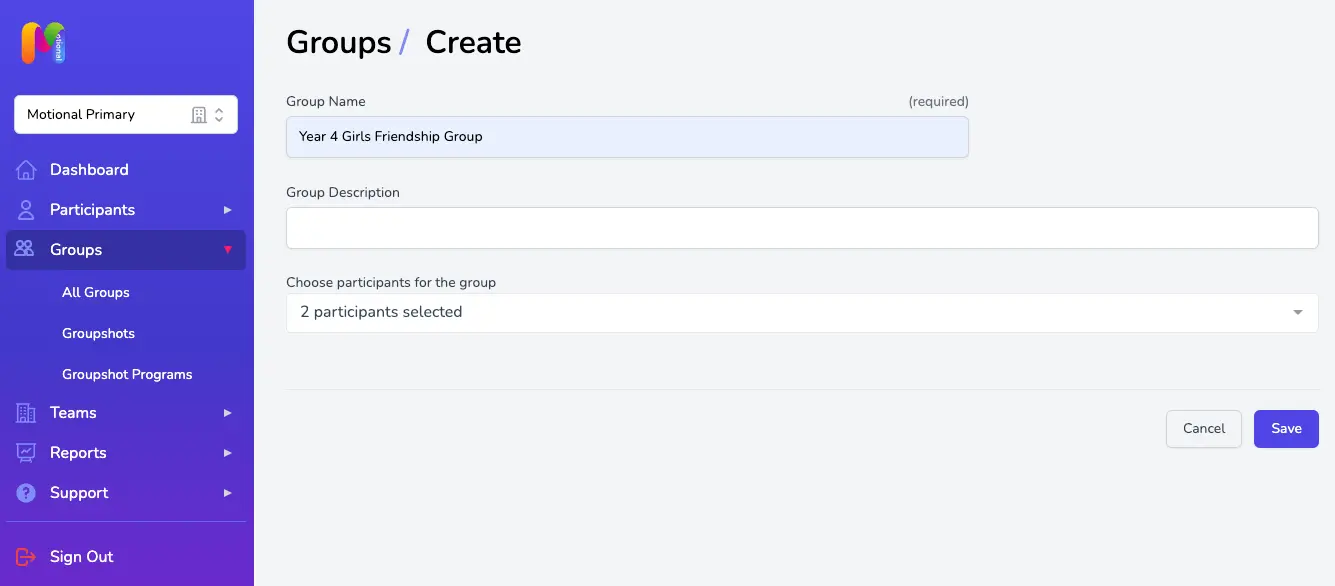
Double check you have everyone you need to include in this Group by clicking on the expand arrow to the right and looking at the list of Participants. Add or remove Participants if needed.
Click Save to finish creating your new Group. This will take you to the Group Overview page and from here you can use the Edit Group or Create Groupshot buttons at the top of the page.